
Formbrick
📘 Developer Guide
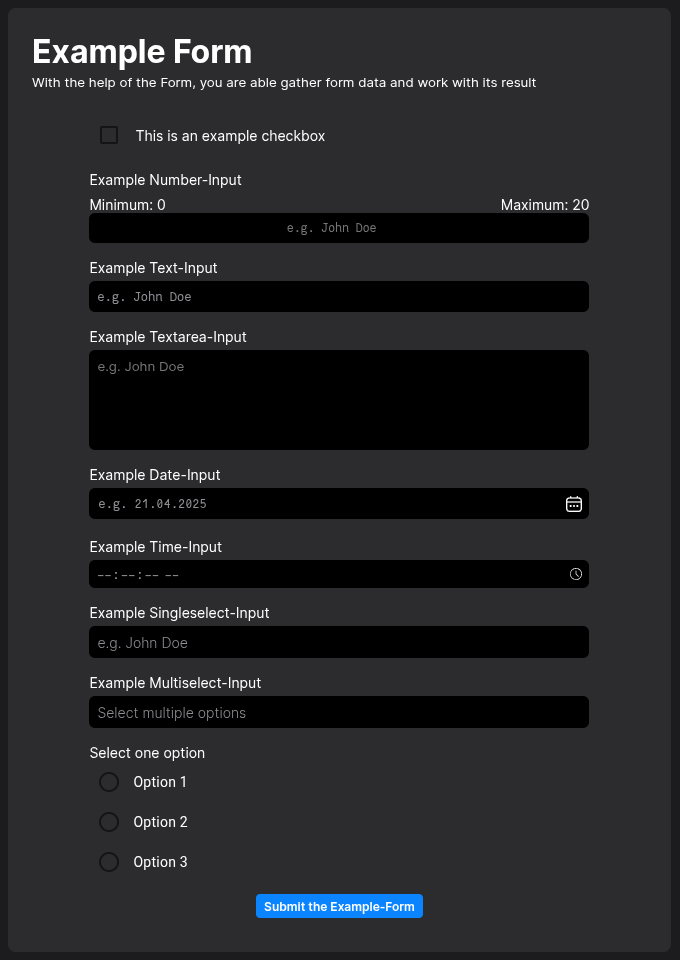
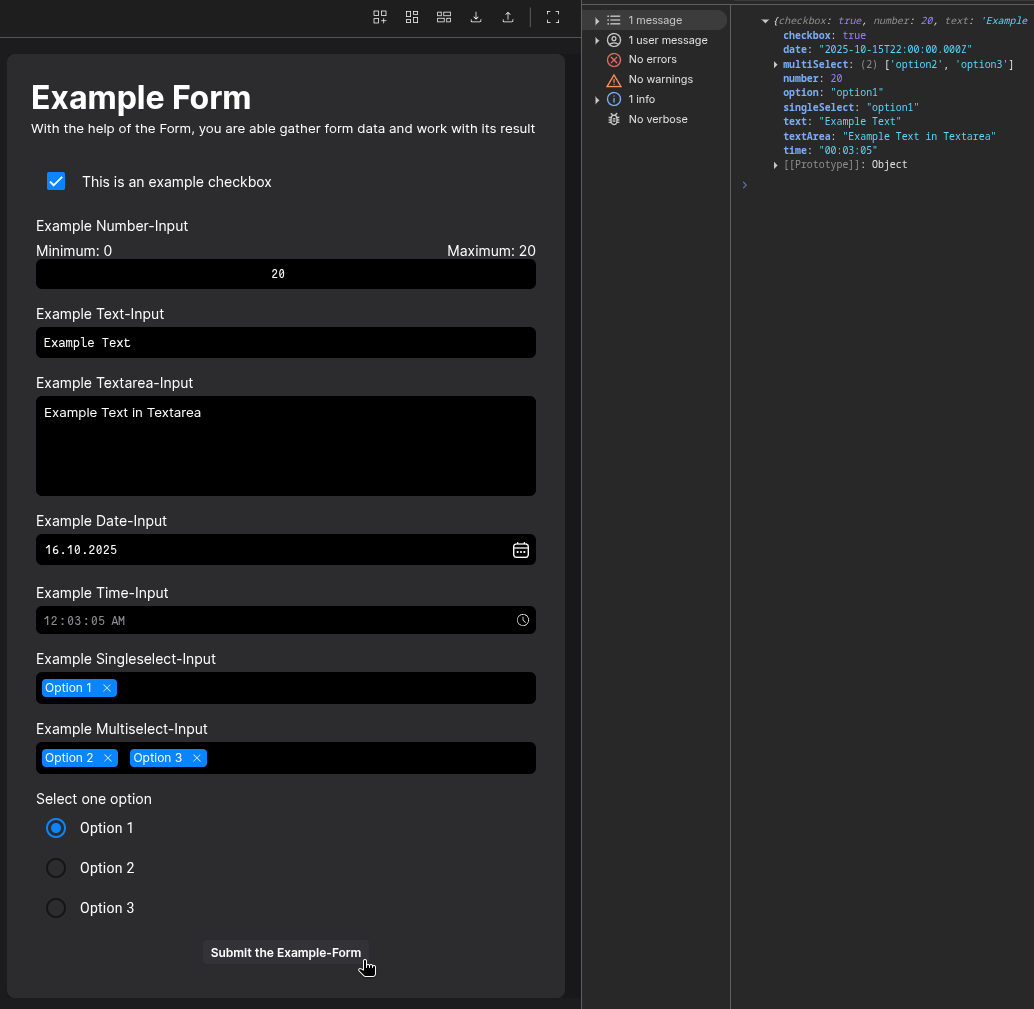
With the Form Brick you can define a form, which let you gather form data and work with its result.
You can utilize Dynamic-Control Components, which work side by side with forms, to create simple yet powerful forms in your dashboard.
See the Realworld Example for a fleshed out use case.
🔁 Example
Designer
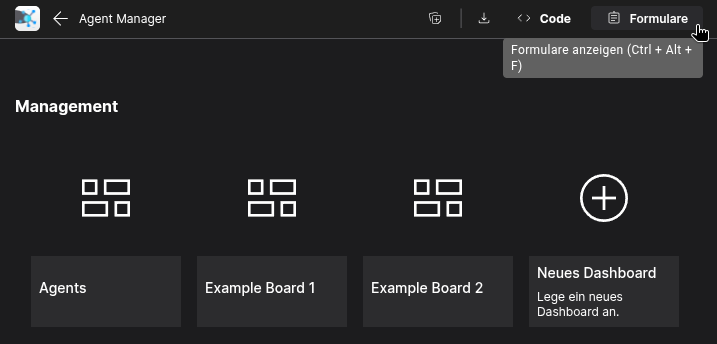
Dashboard-Designer
 Form-Designer
Runtime
⚙️ Configuration Properties
| Key | Label | Description | Default Value |
|---|---|---|---|
mode * |
The form rendering mechanism | direct forms are editable via the builderreference forms via the from store.scripting forms via the scriptingCheck out the Examples direct | reference | scripting |
direct |
title |
The title of the form | string |
- |
form |
The structure of the form | Only gets used if mode is set to directJSON |
- |
initialData |
The data the form gets initialized with | Initialize data by providing corresponding relation keys of DCC-Inputs contained by the form Check out the Examples { [key: string}: any } |
- |
🛠️ Usage
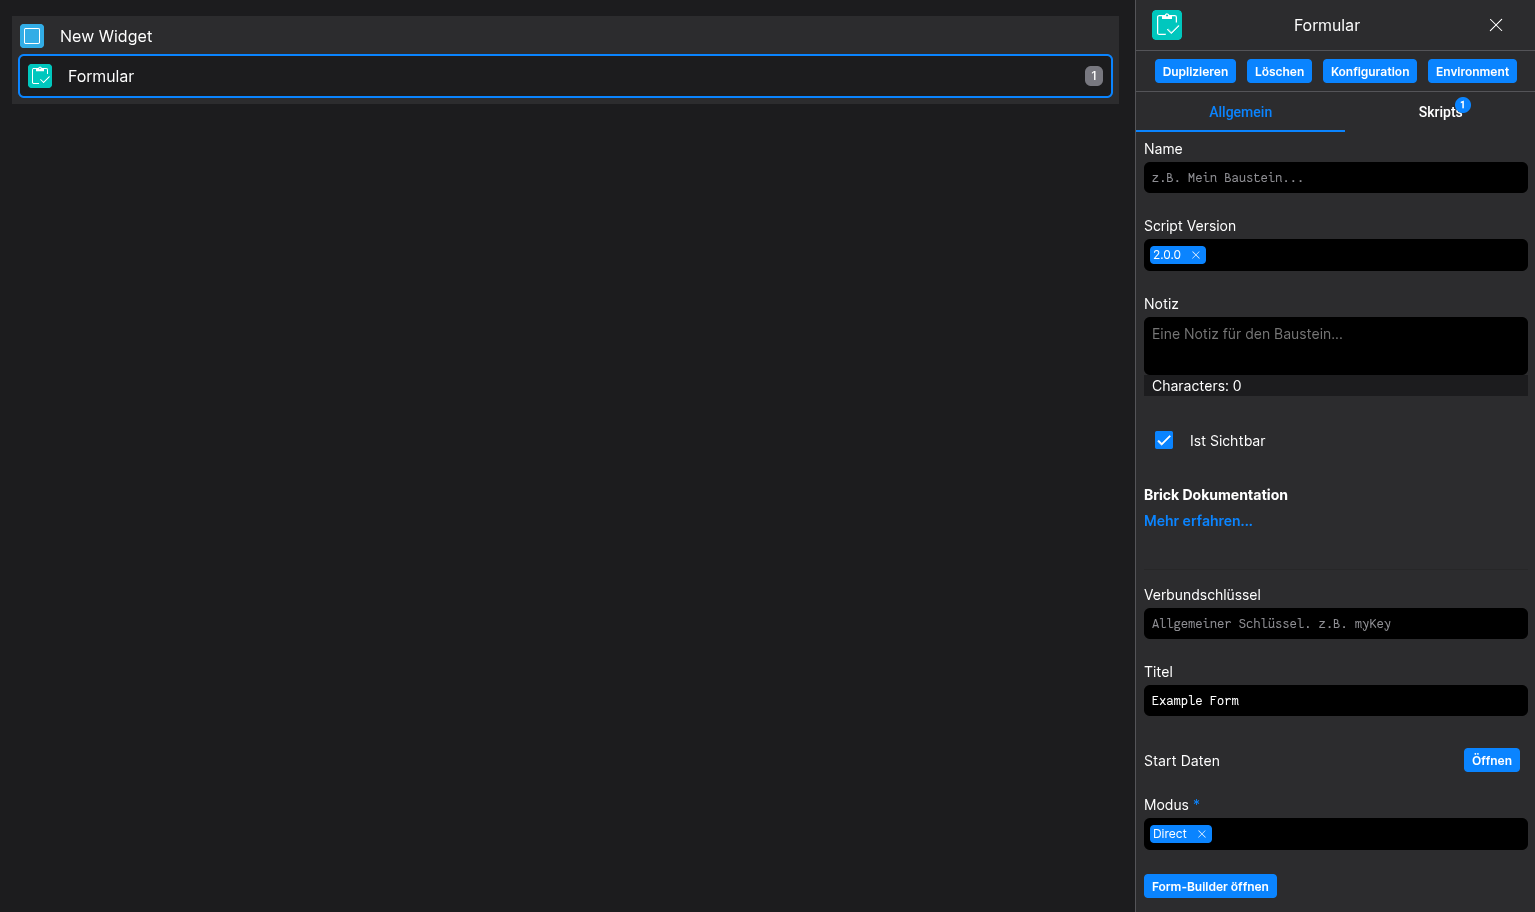
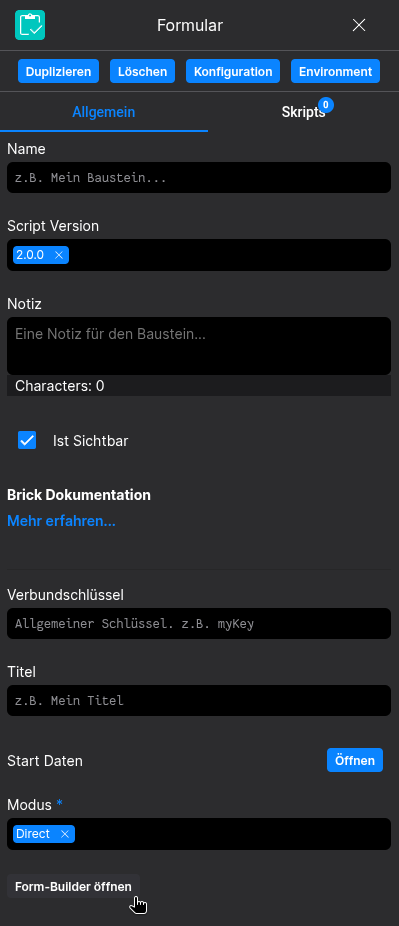
Designer
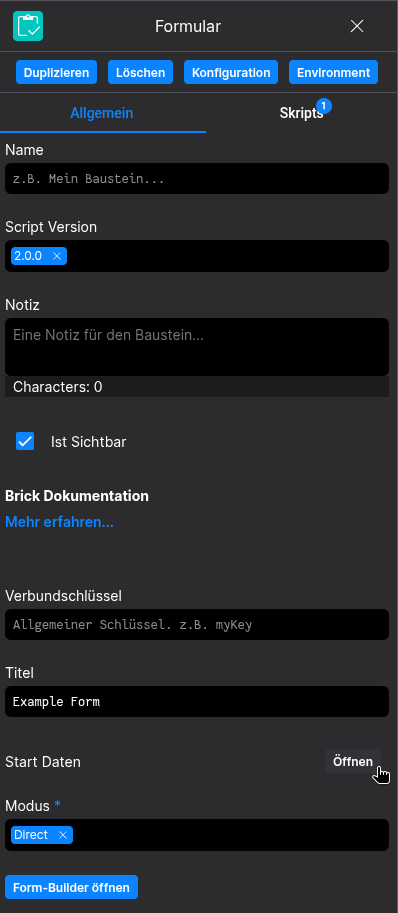
(Simply use the configurators in the right hand sidenav)
Config
(Simply directly edit the configuration to your likings)

⌨️ Programmatical Data
How to use the direct mode of forms
Open the Form-Builder in the Dashboard-Designer and create your Form in the Form-Designer
(It works the same way as the Dashboard-Designer)
How to use the reference mode of forms
Open the form store in your Application, on the top right side of the top-bar and create your form there
(It works the same way as the Form-Designer)
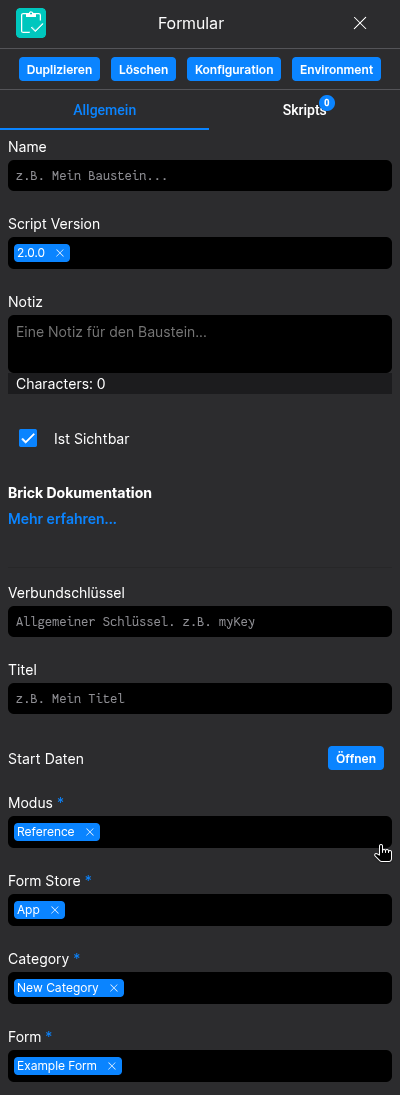
After your form is created and setup, set the form mode to reference in the configurators of the brick
You will be able to select the newly created form there
You can also copy the Form-ID from your URL-Bar in the Form-Designer to paste it into the brick configuration of the form
(It's the lastUUIDbefore the /builder path starts)


How to use the integrated Dynamic Control evaluation
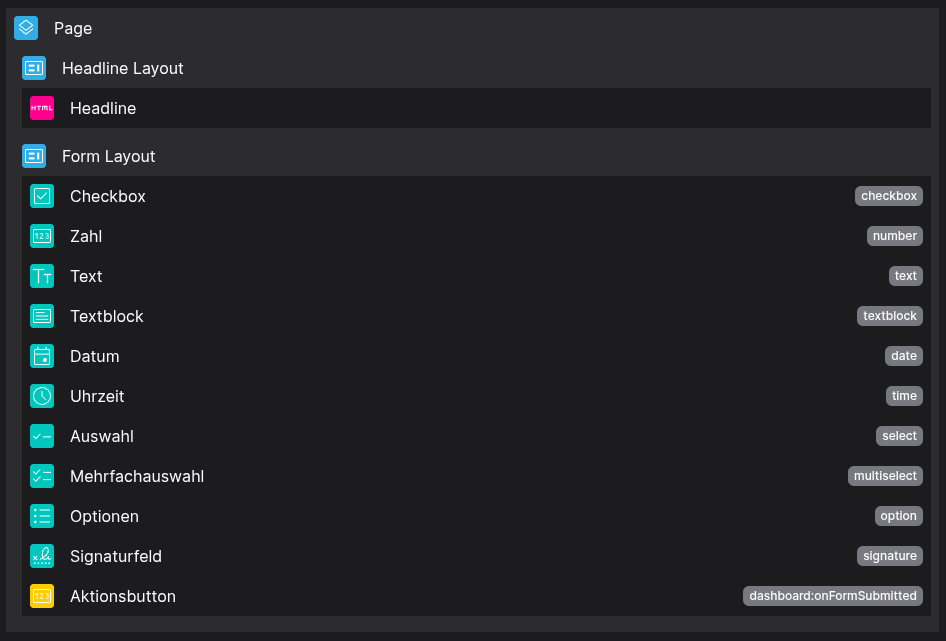
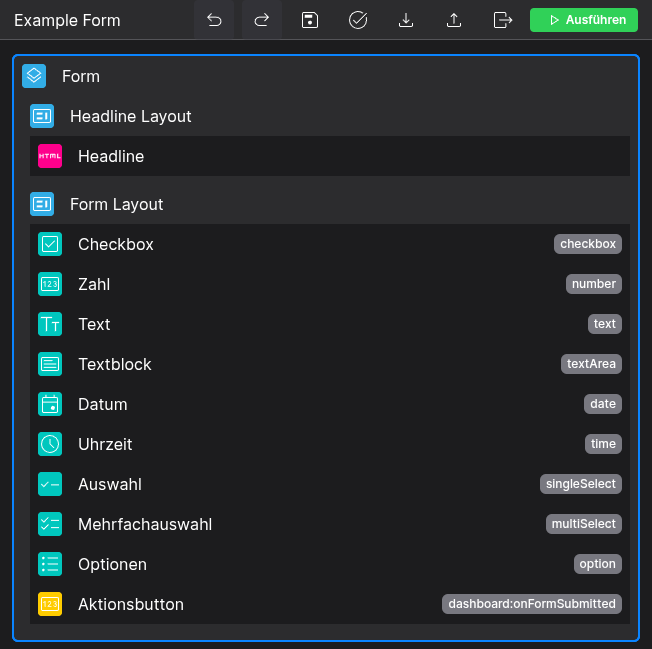
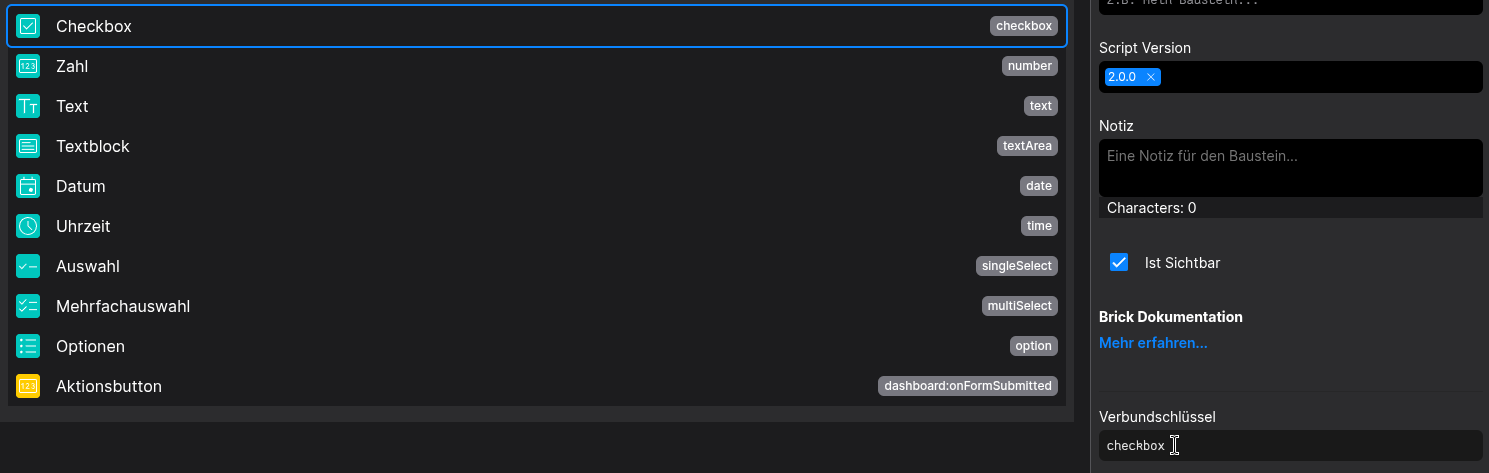
Create a form containing Dynamic Control Components
Be sure to set relation-keys for each of your DCCs
In this example we use a Action Button which fires the onFormSubmitted-Event into the Dashboard Scope
Back to the Dashboard-Builder, we can now add the onFormSubmitted-Event as Action-Script on the Form-Brick
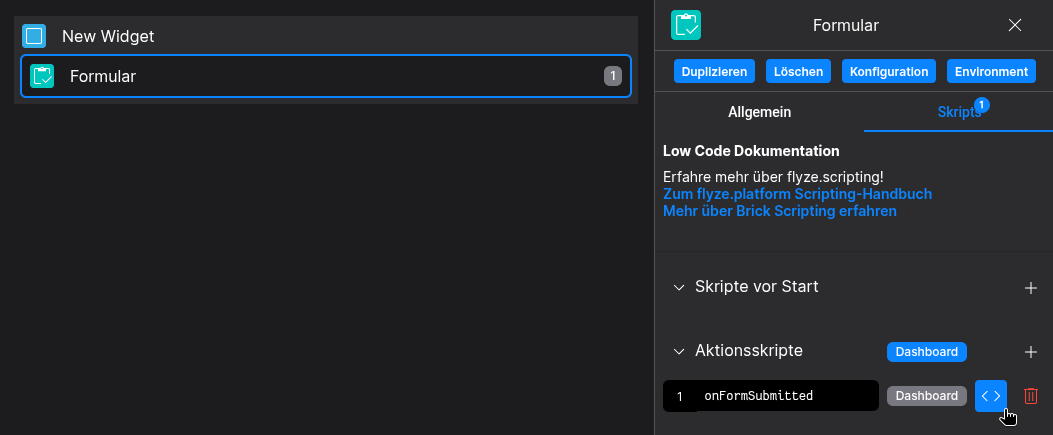
Here we are able to access the Dynamic Control values via scripting
// ⚙️ Retrieve the current configuration of the Brick
const formData = fyzBrick.cRef.value;
// 🧑💻 Do whatever you like with your form data
console.log(formData);
After we click the Action Button, we should see the form data bundled into an object in the Developer-Console
How to provide initial data for the DCC Inputs
Be sure to setup relation-keys like in the Example above, it is mandatory
Either open the initial data editor in the configurators of the form
Or edit the form configuration directly
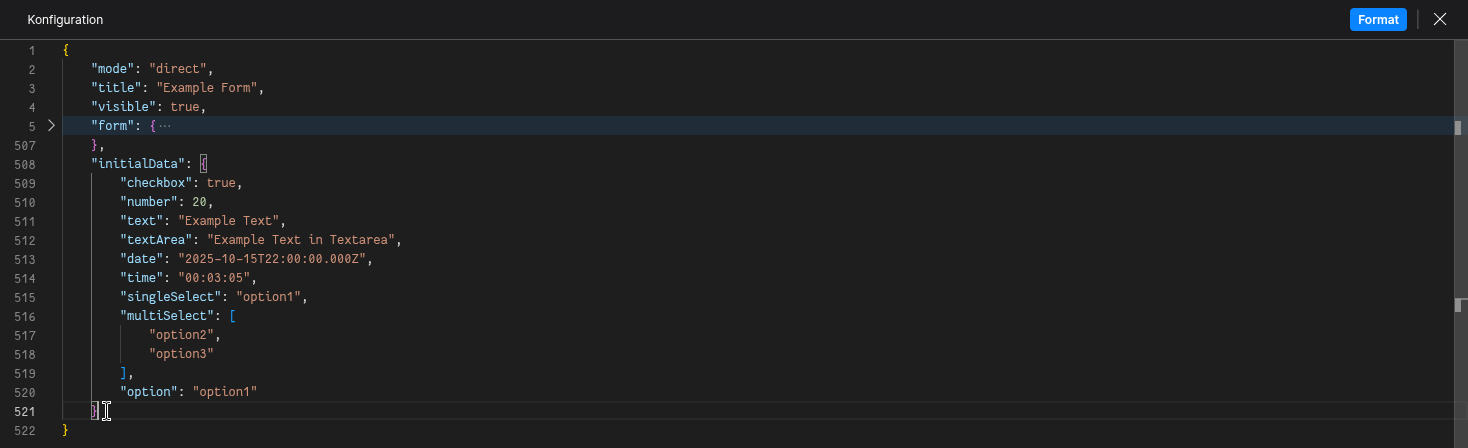
{
        "checkbox": true,
        "number": 20,
        "text": "Example Text",
        "textArea": "Example Text in Textarea",
        "date": "2025-10-15T22:00:00.000Z",
        "time": "00:03:05",
        "singleSelect": "option1",
        "multiSelect": [
            "option2",
            "option3"
        ],
        "option": "option1"
    }
The DCC Inputs should now be initially filled on dashboard startup
Note that the keys of the object match the relation-keys set in the formular
How to create something useful (A realworld example)
We will use the structure from the Example above to fill a Data-Table based on the provided inputs of the form
For that we create a second widget containing a Data-Table
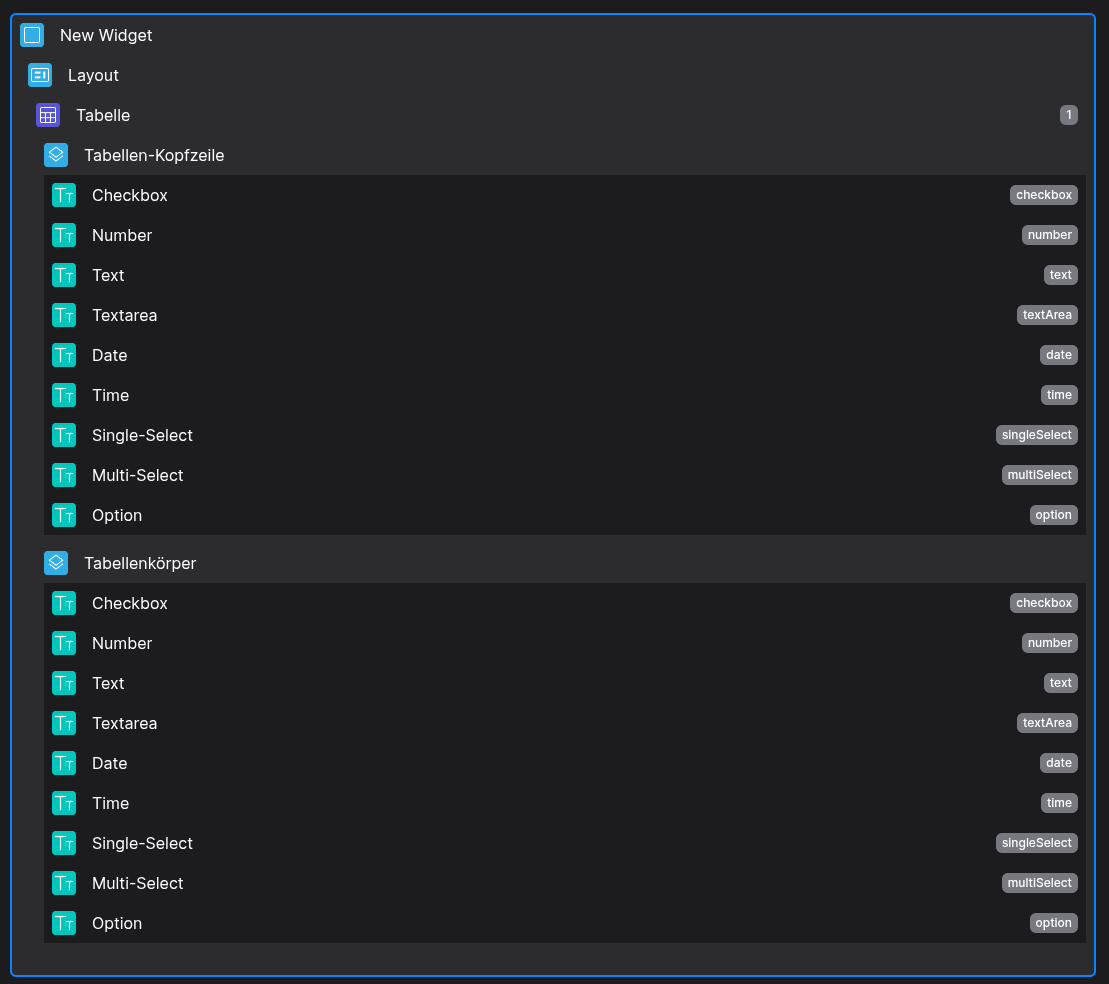
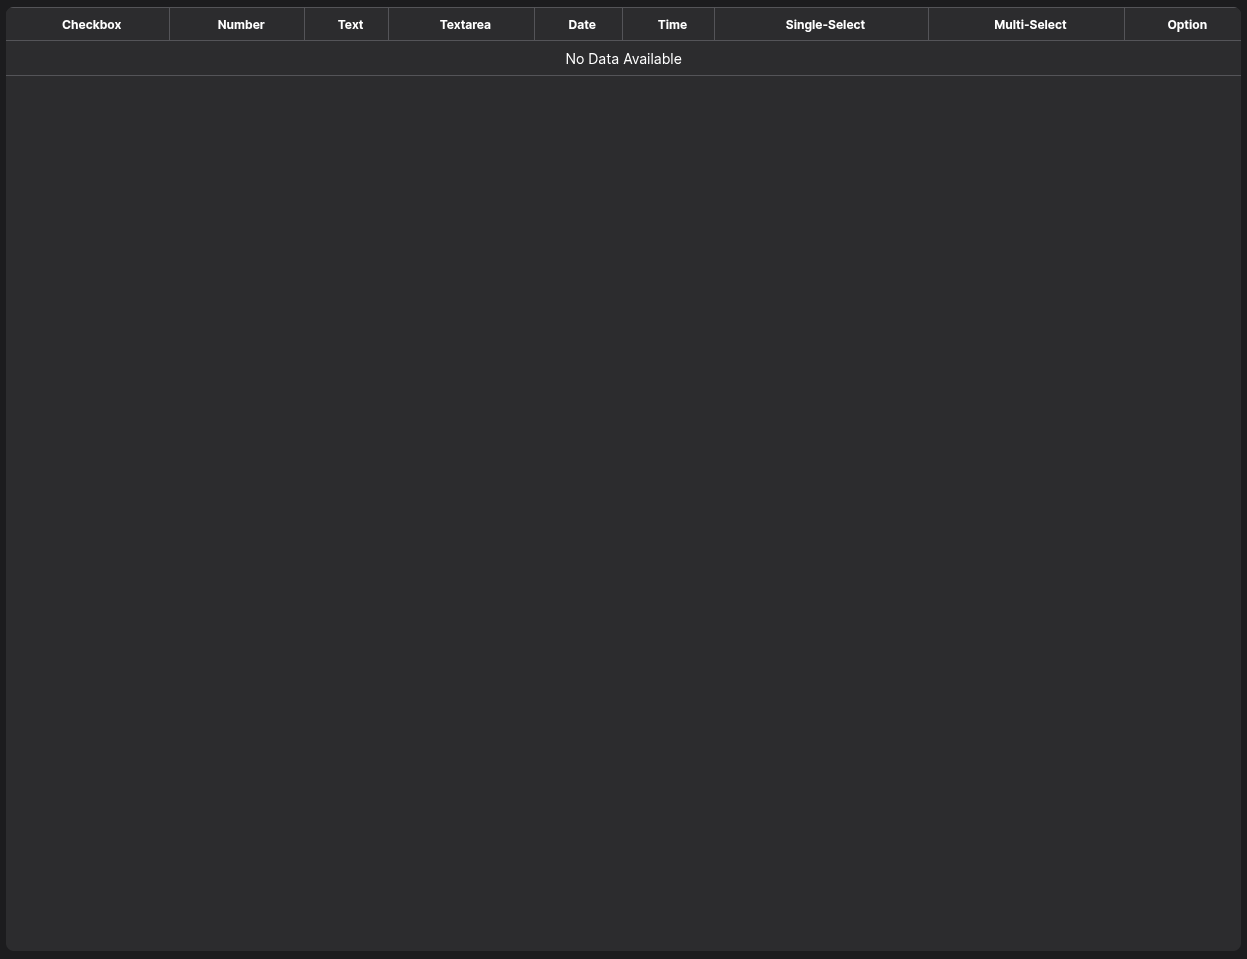
Note, that the data pathes of the Table-Components are matching the relation keys of our Dynamic Controls in the example above
After that, modify the action script onFormSubmitted of the form to fire a new Dashboard-Scoped Event

Let's call it pushToTable, adding the following code into the script
// 🧨 Emit the "pushToTable" Event into the Dashboard-Scope
// We will be able to react to that event in the table later on
fyzDashboard.event.emit({ name: "pushToTable", value: fyzBrick.cRef.value });
Back to the Table, we add the pushToTable script as action script
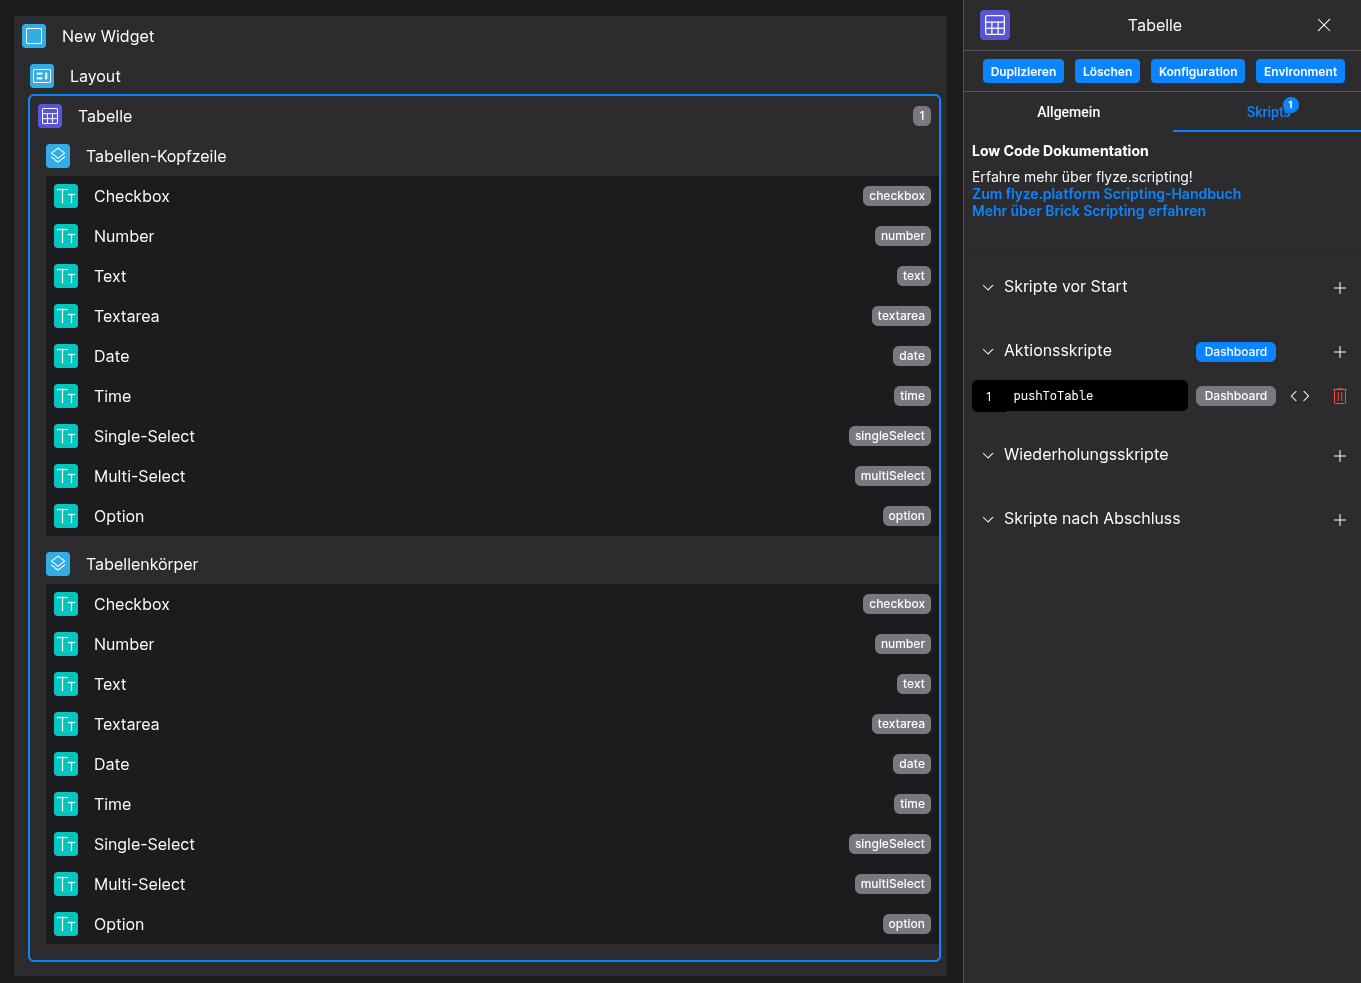
We will add the following code, that will add the submitted form data to the table on each submit button click
// ➕ Add the form data to the table
// Thanks to the correct relation-keys/data pathes, we can simply push actionData into the tableData Array
fyzBrick.cRef.tableData = [...fyzBrick.cRef.tableData, actionData]

Et voilà! The form data will now be written into the data table in the second widget! 🪄